IMG_3022 by Donnie Canning, on Flickr
 IMG_3023 by Donnie Canning, on Flickr
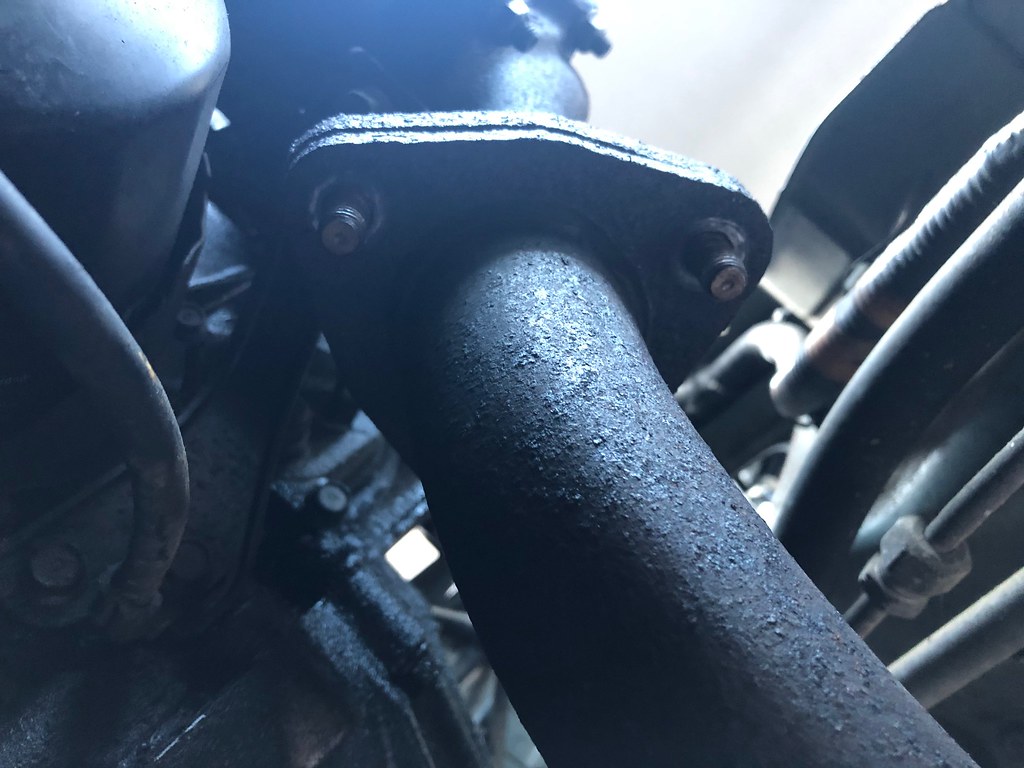
Wasn't sure it was gonna budge at first even though I'd been plusgassing it on and off for a day, and just as I was going to get my son to put a bit of muscle on it, it loosened beautifully!
"Remove ALL BATTERY CONNECTIONS,
Remove Heat Shield,
Remove flexible U rubber pipe (Air Inlet to Turbo),
Remove large diameter solid plastic pipe that heads towards the rear of the engine to air filter,
Remove Hatch at the rear of the engine to gain access to the EGR Valve area,
Remove large diameter plastic pipe across back of head, towards Air Filter. Watch the connection with the Rocker Cover Breather and Vacuum pipe,
At this point it is advisable to crack the joint of the Exhaust Manifold to EGR 22mm metal pipe as this can be a pig to undo. Leave for a while pre-soaked with WD40 or similar. We had to use 24inch Stiltsons to remove. It was tight,"